|
The Saga of the Mustang GT
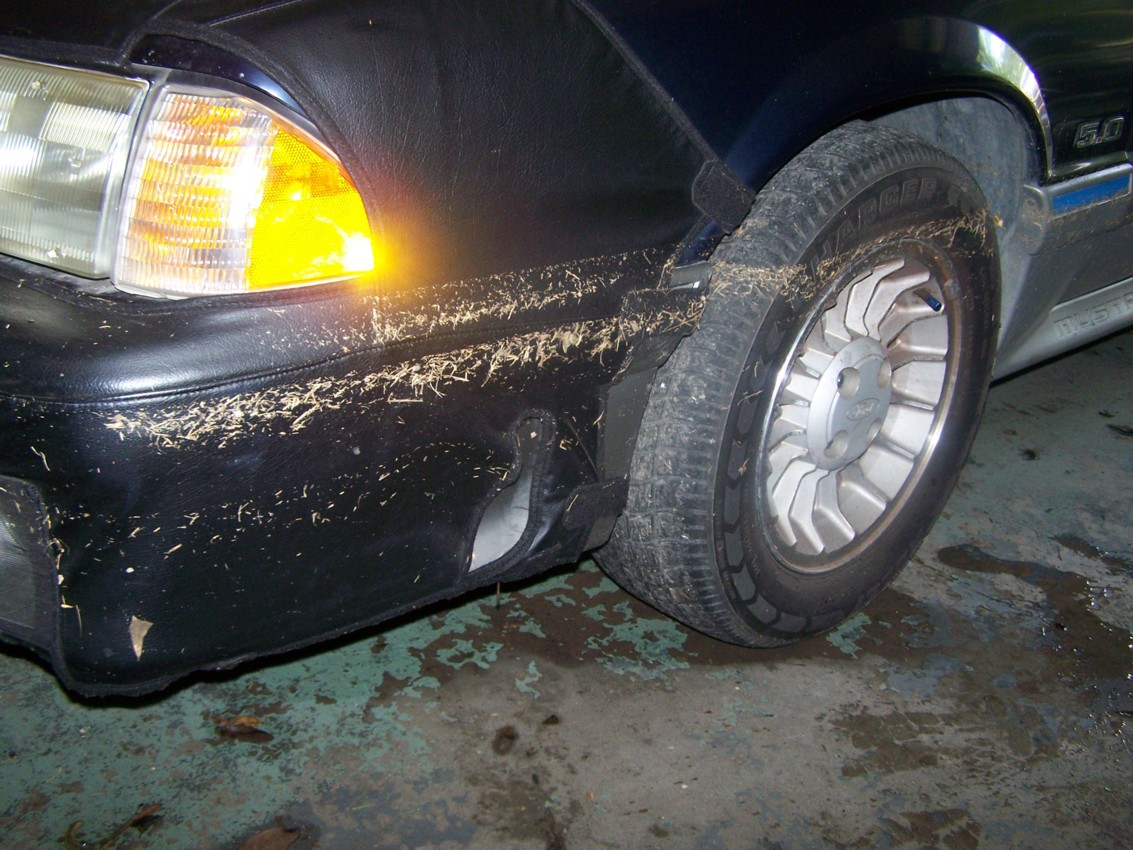
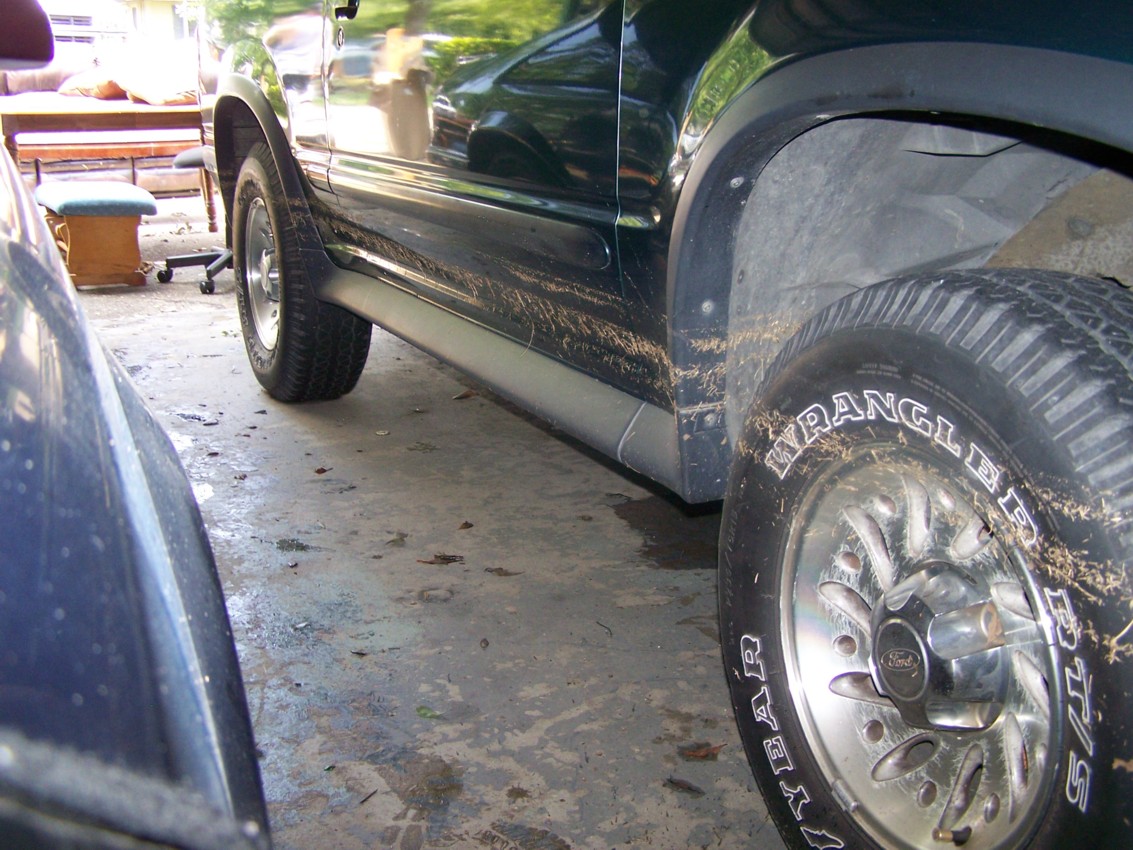
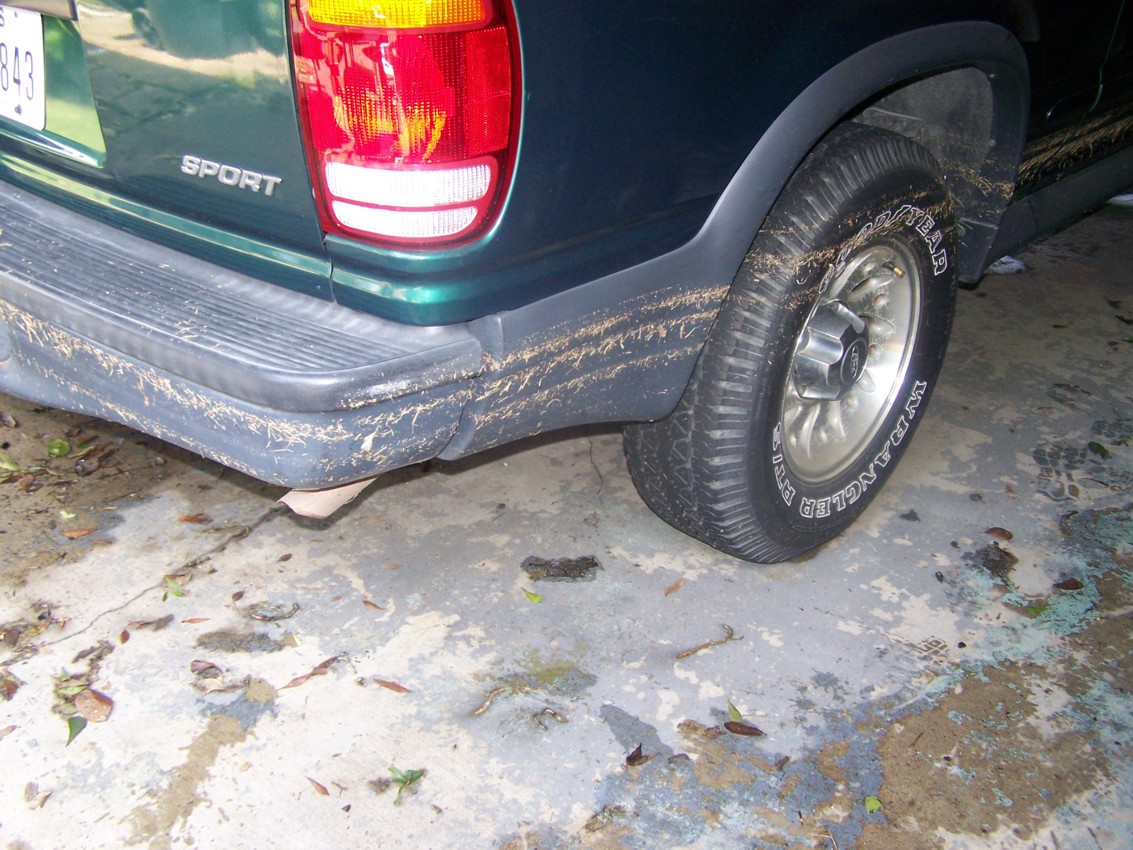
Friends and relatives, all two of them, have been requesting a progress report, an update on how it's been going. No actually I had a visit from Johnny Lewellan (63) the other day too. He said he really likes my updates and enjoys our page. So, here it goes. The Mustang has been a real challenge. Here are some pics taken just after we entered the house after the water went down ....
Since there was so much work to do everywhere, all I could do for now in the garage was try to do immediate damage control. I had bought a real nice, big wet/dry vacuum in Sulphur, LA coming in from Lake Charles. It sucked up the water to where the carpet was almost dry. Didn't need much in the Explorer but it worked nice. Moved on to the house for now. Later trying to access damage in the garage, it was obvious the Mustang had major damage. Anyone of lesser fortitude, or probably smarter, would have just junked it. But many of you know me and I don't give up easily. After looking at the engine oil, it was clear, no water. So I tried the key, it turned over a couple times then quit. Sadly I had bought a new $100 Engine Starter only a few months back. It would prove to be totally shot. The Engine Computer in this model is located inside the right front kick panel, fully engulfed by the grimy water. It would have to be replaced or rebuilt. More on that later..... When I could get back to it, I first pulled the seats out, not a big job, just 4 bolts under each seat. The back seat just lifted up, with water underneath. I stored them eventually inside the house, ended up being for months. Then I made one of my biggest mistakes. I just started pulling stuff out, just tossing the screws and bolts up on a shelf. No labeling, no pictures, just screws and bolts in a pile. I did do one thing right that would prove helpful later ..... Pulling each inside door panel, I did bag the parts and screws in a bag and labeled them..."Left Door Panel", "Right Door Panel". In trying the radio, it was shot. Didn't think the water got that high but somehow it got there. Luckily I had bought this radio/tape player on Ebay before, not too expensive but it was important to get one to fit this vehicle with the internal amp booster, not external like some. Doing a quick search I found a couple, one was an exact match. Ordered it, for about $40, not too bad. In fact the guy said he had no tapes so couldn't test the tape player. I took the chance, and it eventually worked. The door speakers had been under water and were original so they needed to be replaced. Later I would order some, another minor mistake, will elaborate on later. Disconnecting and pulling the PROM, the Computer, I looked on Ebay. Wow, $3-400 for a replacement. But one company in a small Illinois town advertised to rebuild them, for $150. Naturally that was the way to go. I called them to get instructions, soon it was on the way there. Back on the house for now ...... Then back on it, the "new" starter was next. Of course the first thing to do is disconnect the battery and to pull the connection to the Oxygen Sensor on the right exhaust. I made the mistake the last time of pulling this connection, moving it aside to get to the starter. What I forgot to do last time was connect it back. I drove a couple miles and my Check Engine light came on. I knew immediately what it was, I crawled under and hooked it up. You learn from your mistakes This model the starter is a PAIN in the You-Know-What to get to. It's so tight in there that can barely get one hand up there, much less work a wrench no matter how high the car is jacked. Last time I rigged up a long extension, double swivel, adapter from 1/2" to 3/8" and went in from the right fender well just to get to the top bolt .... got it busted and was able to work it loose with my hand. The bottom bolt was no problem, but the power connection to the starter was another challenge. No way to reach up and disconnect it. So I had to drop the starter, with it dangling, and then disconnect the wiring connection. Going back would be just the opposite. With the starter on the ground, it was easy to see once again the power of flood water. It had silt oozing out of the cracks, rusty slimy water did that. So it was back to the parts house to get the exact same starter again, and pay that $100. I waited a few days to tackle it. Wasn't fun but got the new one hooked up, slid up in the tiny crevasse, and bolted up. Matter of fact, this time I somehow managed to get the top bolt tightened sufficiently just by a short wrench, without using my "jury rig" extension. And, of course, hooking up the Oxygen Sensor connection this time. Now to wait on the PROM Computer ..... -------------------------------------------------------------------------------------------------------------------------- The story on the Engine Computer is another strange tale. When it arrived back here after being rebuilt, I was giddy with excitement as I crawled under the dash to install it. Running back inside, sitting on a bucket in the driver's seat, I turned the key ....... motor spinning but no start. It appeared to not be getting gas which is easy to troubleshoot. Squirting some starter fluid, actually ether, into the intake, then running around and starting it quickly, it spit and sputtered for a couple seconds. Yes, no gas was the problem. But, WHY? Since the back of the car was under water too, it sure looked like the fuel pump, which is located inside the top of the gas tank, was shorted out. And since the vehicle was 28 yrs old and I owned it for the last 26, I know I had never changed it out. It had to be the original fuel pump. It wouldn't hurt to change it out either way. Going by a local parts house, they would have to order it, be here in a day. But I find that ordering a part online I can usually get a better part for less money, just have to wait a few more days for delivery. I found a High Performance Fuel Pump Kit for around $100. I ordered, and went on to something else. ----------------------------------------------------------------------------------------------------------------- When the Fuel Pump Kit arrived, I set about to doing the dirty work of jacking the back of the car, propping up on sturdy jack stands, which I ALWAYS use. How about a short story off the cuff..... A friend from TJ Class 63, Douglas Dubose, once lived not far from me. About 1965 he had a hot '58 Chevy that he raced all over town. Naturally he was always working on it, always under it, in a ragged garage. One day I arrived at his house on 13th St, near Old TJ, and he met me near the back. His face was white as a ghost, I asked him what was up. He said he was just working under the front of his car, using the usual Bumper Jack. and as he was turning a wrench he heard the jack "creaking". He quickly scooted out from under it and then the car came down with a huge "WHOMP". Needless to say he came that close to being smashed like a bug. It was a lesson that I'm sure he learned and to this day I NEVER crawl under a car just supported by a jack. Always use sturdy Jack Stands. Now, back to my story...... --------------------------------------------------------------------------------------------------------------- So crawling under the back of the Mustang I find wiring connections that go to the Electric Fuel Pump and also the Gas Gage. They were nice enough to furnish connectors back at the rear that do the disconnecting. That way when the tank is dropped, some wiring stays with the tank. But Ford was not so nice with the fuel connections. Underneath there are several connections. The fuel supply from the Fuel Pump running to the front Fuel Injection, with connections on both sides of a large Fuel Filter, never changed by the way, and a fuel pressure relief hose running back from the front to keep the pressure at the engine stable. Have to remember which is which. Just about all car manufacturers have some type of Quick Connect/Quick Disconnect connections. That way during factory assembly they just "click" them together in a second. But they don't have to worry about disconnecting them so it takes a special tool or somehow getting a small screwdriver wedged into the crimp to undo it. And naturally there is not a lot of room up under there to make it easy. It didn't take long to figure out the best thing to do is just get cutters and just cut the doggone hose, do away with the connectors completely when going back. The gasoline splashing on one's face out of the cut hose didn't feel good either. Placing a jack under the tank wasn't fun either. I tried placing a block of wood on top of the jack to get more surface area but it was a balancing act that wouldn't work. I removed the block of wood. At this point I could see the tank was very heavy so I proceeded to try and siphon out as much of the gas as possible. Using a tube stuffed down the gas neck and pan I got a good siphon going, after the obligatory mouth full of gas. But having done this before over the years, you do this by closing your throat. As soon as it was going it was a race to the water hose to wash out the mouth. Now it was time to drop the tank completely since everything was disconnected, right? No, I forgot about the gas filler neck. That was another task that was made even more difficult because of accessibility issues. Had to reach up between the fender, up near the top of the filler neck, and remove three small screws to fully release the gas tank. Unbolting the gas tank involved four large bolts holding the two straps that do all the holding. Not a big deal but unscrewing them and trying to balance the tank on the jack wasn't fun. Eventually when all the bolts were undone, the tank mostly just slid off the jack onto the floor. At least it was done. I have to admit that here I went to my computer and looked up a U-Tube video on the job. Found a great description on what to do next. Also, would you believe there is a video on doing the job without dropping the tank. They point out exactly where, in the trunk, to cut a hole and do the job from inside the trunk. Seemed risky to me and some hose or connections could be cut, so I stuck with the tried and true method. This one video was very helpful as to get the fuel pump assembly out required knocking the locking ring out, then twisting and turning the assembly just the right angles to remove it. I doubt I could have figured it out myself. So with it out I did something I have learned to do over the last few years..... take Digital Photos with my camera and load them into my computer to view on a big screen and also print them out. This proved invaluable later because there were some quirky twists and turns with the small internal hosing and the electrical connections would look different on the replacement fuel pump assembly I bought online. Oh, buying the replacement parts .... When I saw the large fuel filter that came out that was over 25 yrs old, I quickly ordered another one. There were some cheap ones for less than $10 but I try to buy direct replacement parts when possible, so I ordered a genuine Ford Motorcraft for about $15. It should be good for another 25 years, right? -------------------------------------------------------------------------------------------------------------------- With the help of the photos taken previously I was able to remove the old electrical fuel pump from the harness, pull the old 1/4" hoses, and insert the new fuel pump. Probably could have kept the old hoses because they looked in remarkably good condition. They also had a built-in twist to them that I had to delicately duplicate with the new little hoses. The electrical push-on connections were brittle so it was necessary to make up new connections to new wiring. When the finished product looked just like the old photos, it was time to insert the assembly back into the top of the gas tank. Turned out to be a nasty little job as it had to be inserted, then canted sideways, then twisted to enable it to fall into place. Knocking the lock-ring into place finalized that part of the job. I felt a feeling of elation as the hardest part of the job was over. Wasn't it? --------------------------------------------------------------------------------------------------------------- It wasn't a fun job, getting the gas tank back on the jack, lifting it up into the crevice, lining up the bolts, and getting them started. Naturally one of the four big bolts cross-threaded so I had to go dig into my pan of bolts to find another one. Finally I had it up into place, bolted up, and tight. Of course I didn't get the gas filler neck lined up correctly so I had to drop it back down a bit to get that fitted up. Finally(?) had it all done. The aforementioned job of dealing with the rubber gas lines wasn't easy as they were up near the top of the tank, with small room to work. Since I had kept the old gas lines with the connections to the old fuel filter, I could see which hose went to which connection. Using new screw clamps, this part of the job went pretty good. I felt good installing a new Ford Motorcraft fuel filter, after all the old one was good for 28 years. I don't think I will be installing the next one. Connecting the wiring harness was a no brainer, only one way they would go. So now, time to put in gasoline and fire it up. Yeah, right. --------------------------------------------------------------------------------------------------------- You remember the old saying, "The best laid plans of mice and men....", or better yet, "If it could possibly go wrong, it will", there was more misery to come. Poured new gasoline into the tank, with a bucket to sit on, I moved behind the wheel and inserted the key. Naturally, NOTHING... it turned over but still apparently no gas. Doing the aforementioned squirting into the intake got it to spit and sputter so that proved it. But WHAT..? New fuel pump, new filter. It was back to the internet for more searches. THERE it was. A Fuel Pump Relay was located under the front driver's seat, long time removed. With 2-3 wires there and some connectors, I finally had to actually look at them. Yes, a square plastic box with 3 wires going to it, one of the wires was pulled out. Doing a quick crimp connection to it, I once again moved behind the wheel, my heart racing at 90 miles an hour, and gently turned the key. VAROOOOMMMM. It fired right up. I had done all that work, dropped the gas tank, spent over $100 for a new pump, filter, hoses and clamps, for NOTHING. Well, the old parts were 28 years old so it didn't hurt to replace them. I did get back online and found a new fuel pump relay and, waaalaa, they actually made a replacement wiring harness for the whole setup to go under the seat. I broke two fingernails ordering the fuel pump relay, only about $15, and the wire harness, even less. Why not go first class? --------------------------------------------------------------------------------------------------------- When the new fuel pump relay and the wire harness arrived, not much of a problem there, just some crimp connections and I would be back in business, or so I thought. One of the first things I had done is buy a new battery, my old one showed "dead". Some 7-8 years ago, using a kit, I had moved the battery box to the trunk over the right rear wheel. The kit included a large plastic battery box with a cover, and several feet of #6 wiring to make the run from the front starter switch, through the firewall, down under the left floor cover plate, through just to the left of the rear seat, then crossing over to the right side. The Mustang has little room inside the engine compartment and it's a common task to move it to the rear where over the right wheel, would also provide more weight back there for traction. So, removing the battery for charging or replacement was an easy task out of the trunk. Backing up again, when I first examined the Mustang after the storm, finding the battery dead, I tried to charge it using my old small charger. Yes, it had been under water too so it was shot, and it was probably 30 years old. Back to Lowes, one of the first tools I had bought was a nice new charger. Lots of bells and whistles on it, the screen gave the % charged, fast charge, and boost. So this was the charger I put my old battery on. It didn't seem to want to charge so, what the heck, went to a guy in Groves to buy a super, dooper battery. He even had to special order it, only $140. So, back to the current situation. This "new" battery was dead the 3-4 days I was waiting for the relay and harness. Threw the charger on it, and if a few hours, it showed fully charged. Started the car and ran it awhile. Back to work on the house...... --------------------------------------------------------------------------------------------------------------- The next time I was able to get back to the Mustang was a few days later. The battery was dead again, that super dooper $140 battery in my trunk. I went over to the guy in Groves, who I trusted, and asked him what he thought. Fully prepared for something like this, he said to bring it to him, he would charge it, then let it sit overnight and then recheck it. Made sense to me, no problem. Was easy for me even though this is one heavy battery, since it's in my trunk. The next day I went to his shop. He said he had not checked it, he grabbed his tester, we went over to it. It had practically not dropped a bit, about one amp. He declared the battery fine. He explained to me how to check my system for "shorts". Having once been a Certified Mechanic at Energy Country and Linn's GMC, and once been the guy who they sent all the "electronic problems" to, I was versed on how to seek out a short. Here's an example..... Once at Energy Country they handed me a case where one of those new fancy Mercury cars, so fancy it had "Opera Lights" on the outside behind the two front doors, had just come in from the factory. None of the back lights were working. Gee, how did that get past Detroit? They did things like this all the time. It had a problem but they shoved it out the door, let the poor sucker at the dealership sort it out. Well, this time I was the Poor Sucker. After pulling out all the carpeting in the trunk, checking with my test light all the connections in the trunk were dead, no power. Ok, move forward. Removing the back seat, no power under there either. Tracing the wiring forward, it was necessary to then remove the inside panels just behind the doors. AAAAHHAAAA. THERE it was. The seat belts are about half way up the side posts. The Opera Lights wiring ran up just next to the seat belt bolts. They had driven the right side seat belt bolt right through the wiring harness going up to the Opera Light, shorting it to ground. When I pulled the bolt out, opened the wiring, used wire connectors to repair the wires, WAAALAAAA, the rear lights worked fine. All lights worked fine. Another case solved by Inspector Taylor. ---------------------------------------------------------------------------------------------------------------------------------- I have been wanting to tell this part of the "rest of the story" for a long time. Since it was evident I had some kind of short, or rather something sucking up my battery, I set about to find it. One way is to pull all the fuses, hook up a VOM between the battery post and the red wire. Then put the fuses back in one at a time, checking which is pulling the amps. Unfortunately, none of the regular circuits were the problem. At one point I decided to try disconnecting the big connection to the under dash computer. WAAAALAAAAA. The draw on the battery stopped. But, what to do about this? Since I had sent the computer off to Illinois before, I called them again. They said to send it back to them. So it's wrap and box up and ship it off again. After about 3 weeks I got a call from them, actually the owner of the company. They couldn't find anything wrong with it after a couple weeks of testing. He made me an offer. He said if I bought a new one and it corrected the problem, he would return the money I paid him. All I could do is have them send it back. Upon getting it back, I hooked it up and sure enough, in 2-3 days my huge battery was down again. Doing more research, a Power Relay to the computer was shown to be up under the dash above the heater box. Well, it's really, really tight under that dash, couldn't get my hand up anywhere above the heater box. Only way was to drop it down. After pulling a couple small screws on the bottom, I could see it wasn't going to move unless I found the rest of the screws. Plus, those heater boxes and doors have this foam on them and I was afraid I would tear that up..... Forget IT... What was I to do? I needed the Engine Computer to run the engine, didn't when it was shut off. What would any old-time, shade-tree mechanic do...... Doing another internet search, this time for a wiring diagram of this model, the power to the computer entered at post #1, a purple striped wire. I had a brainstorm. At the local auto parts store, bought a "toggle switch", it's even a lighted one when on. Ran a heavy wire with 3 internal wires inside it, from the computer harness, below the glove box, just inside the dash lining, to the hanging toggle switch. Drilled a hole under the dash just below my instrument panel, installed it down there, sticking down. The other end? Pulled the big wrapping and found the purple wire going to post #1. Broke the wire there, made connections on both ends, then a ground for the "light". In other words, the toggle switch controlled the power going to the computer, when ON the computer functions were normal, when OFF, no power was coming from the Power Relay to the computer. Actually not a real big deal with this older vehicle. Modern vehicles today, computers control everything. But back then, it was mostly air, fuel, and reading the oxygen in the exhaust. In fact, starting and running it with the switch on, everything was normal. On a whim, I flipped the switch OFF and the car kept running without the computer. Running like this for long would have probably triggered a "Check Engine" light. At any rate, it was time for the next test. With the toggle switch OFF, I waited 2-3 days before I went to start it again. Flipping the switch ON, it cranked right up. Subsequently waiting 4, 5, 6 days, it still started right up. So that part of the job was fixed. What do we call the repair? I call it "Coonass Engineering". Some will have another term for it. I'm sure you can figure it out.
MORE later ........
|